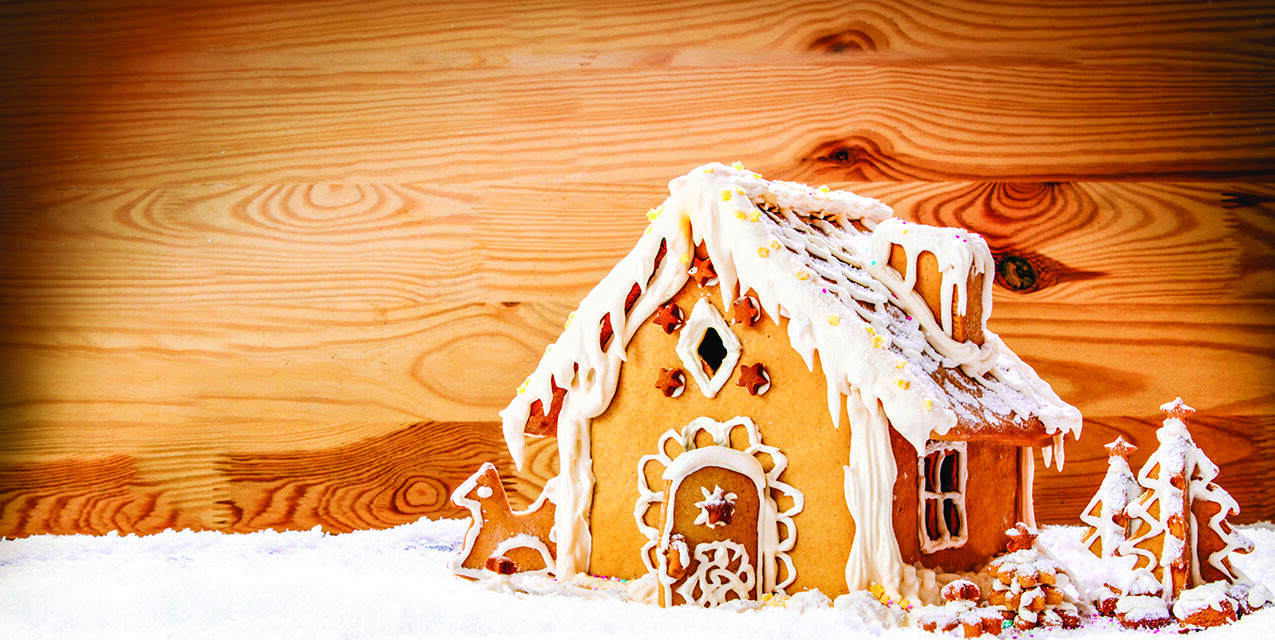
Gingerbread cookies and houses are one of the many symbols of the holiday season, alongside Christmas trees and twinkling lights. Many people spend hours carefully trying to create decorative gingerbread houses, which originated in 16th century Germany. The fairy tale “Hansel and Gretel” helped solidify the popularity of gingerbread, which became part of Christmas traditions.
Prepackaged kits can take some of the guesswork out of building a gingerbread house, but creating one from scratch can be more fun. Here are some tips.
- Go for form and not flavor. Few gingerbread houses ever get eaten, so focus on finding a dough that bakes up rock hard, rather than one that tastes good.
- Get the right icing texture. Royal icing is the preferred “glue” to adhere gingerbread pieces, and should be thick like peanut butter and not runny.
- Mind the dough. Don’t roll out the gingerbread dough too thin or it may become brittle after baking. Also, cut out shapes before the gingerbread is baked. Let the baked pieces sit overnight to cool completely before using them to build.
- Be Patient. Allow the icing to dry for at least a couple of hours after adhering each piece and before moving and handling the house. Work in stages so that individual items can be decorated and allowed to dry. Then the walls can be put together, followed by the roof pieces.
- Kids likely will need help. Children may not have the patience or steadiness to handle gingerbread construction. Let them decorate the separate pieces of the house while the components are lying flat.
- Utilize a template. Cut out templates using cardboard or posterboard for various gingerbread pieces, and have fun!


